

Photo by Markus Spiske on Unsplash
REAL-TIME AUTO CONVERSION OF YOUR NOTEBOOKS TO PYTHON SCRIPTS USING JUPYTEXT


Introduction
Notebooks are essential tools for data scientists, machine learning engineers and researchers as they allow fast experimentation and also make sharing both the codes and results easier. But there lies one of the greatest challenges with using notebooks, version control is tough or like some people will call it, a mess, with notebooks. Just in case the term version control is new to you, it is basically the process of keeping track and a record of all your codes (or whatever it is you want to version control) sequentially such that in case something bad or terrible happens e.g someone mistakenly deleting your code base (all your codes where you saved them), you have somewhere you can roll back to the last version you saved without you having to rewrite them again. It's like making a photocopy of your codes at every point during development so you can always have something to roll back on. You'll agree with me that is a great tool data scientists also need to adopt.
Back to notebooks, version control tools like git or subversion (depending on your choice) were designed primarily for human-readable texts. Notebooks, however, contain a large nested JSON (JavaScript Object Notation) file containing codes, markdowns, HTML and others all combined together, this means the average notebook is difficult to read using git or subversion (thereby making it hard to use so many capabilities embedded in git like allowing you to see modifications to your code since the last time you saved it among others)
JSON (JavaScript Object Notation) files are a special file format that contains a list of dictionaries for storing and transporting data. Although originally designed for JavaScript, they are now a ubiquitous file format commonly used on the web for transferring and storing data.
Apart from version controlling, notebooks also have some challenges that make them inferior to using just python scripts, this includes reproducibility of codes. Codes in notebooks can be run out of order, with the owner editing a part out after they've run it. This means someone trying to follow their steps will not get the same result as they did due to this edited part and this hinders reproducibility. Codes hosted in notebooks are also not callable by codes in an external location, this makes them impossible to be tested.
These and many others are some of the challenges with notebooks and why notebooks aren't used in production environments. The option however was to experiment in notebooks and then transfer the codes manually or rewrite them as scripts. This process as we can see is very inefficient and time-consuming, in this tutorial I'll be showing you how to automatically convert your notebooks to scripts using jupytext.
Tool
- jupytext
- jupyter-notebok or jupyter-lab
Installation
So the first thing we need to do is to download jupytext. Jupytext is a tool that automatically converts your notebooks into python scripts. To download jupytext, you need to use the package installer for python (pip).
pip install jupytext
or using conda;
conda install jupytext
Setting up Jupytext
After downloading, now we are ready to use jupytext for the automatic conversion of notebooks to scripts. There are so many ways to set up/jupytext from here, however, I will be showing you 3 ways to use jupytext. But before we proceed, let me give a little brief on our project folder structure;
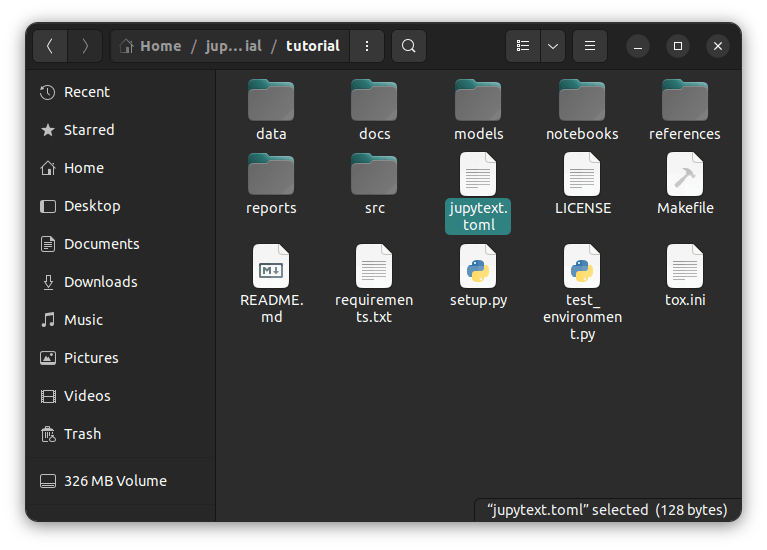
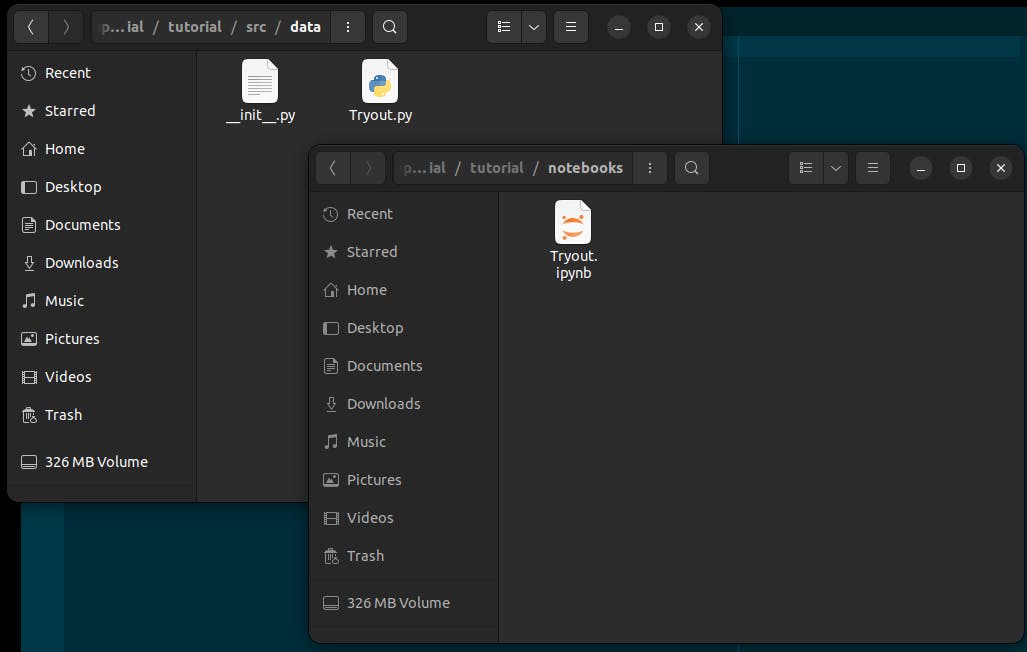
Our project has a folder "notebooks" where we will keep all our notebooks and another folder src, with different subfolders where we will keep our scripts. This is important because we will need to tell jupytext where to find our notebooks and where to keep our scripts when it is done. Now, let's get into it.
Using notebook's metadata
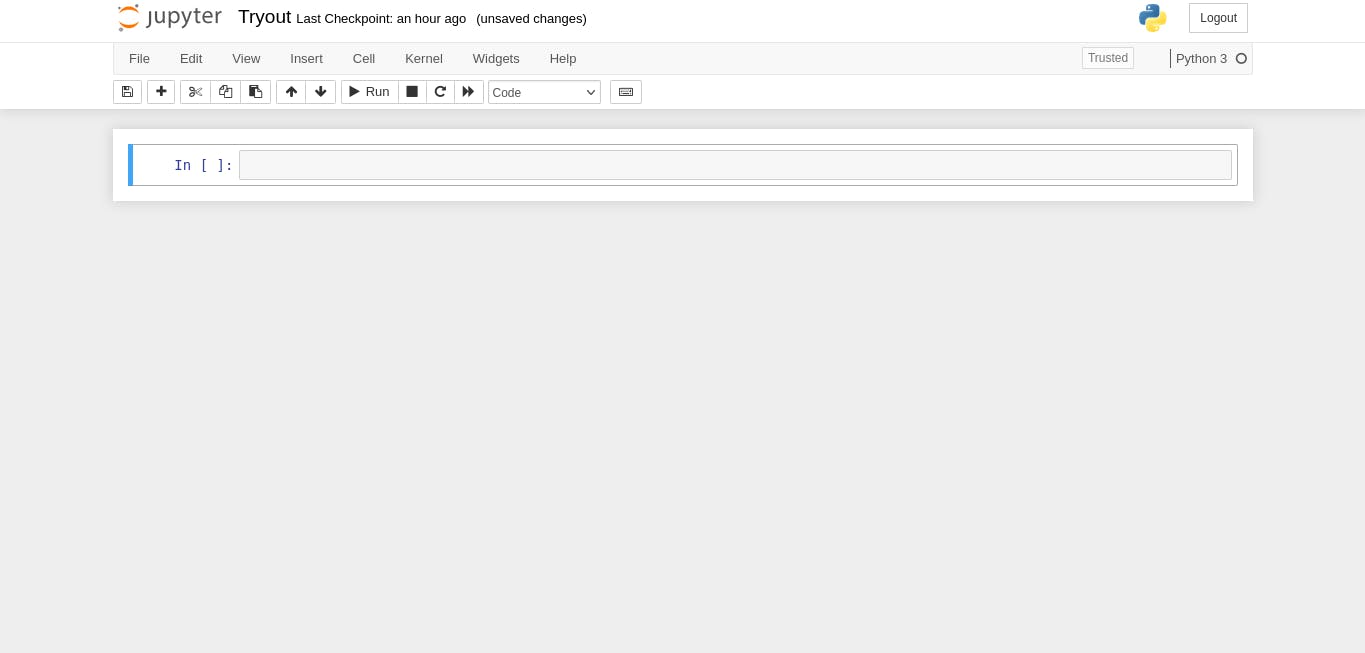
The first way we will be using to configure our jupytext is by editing our notebook's metadata. To do that open your jupyter notebook.
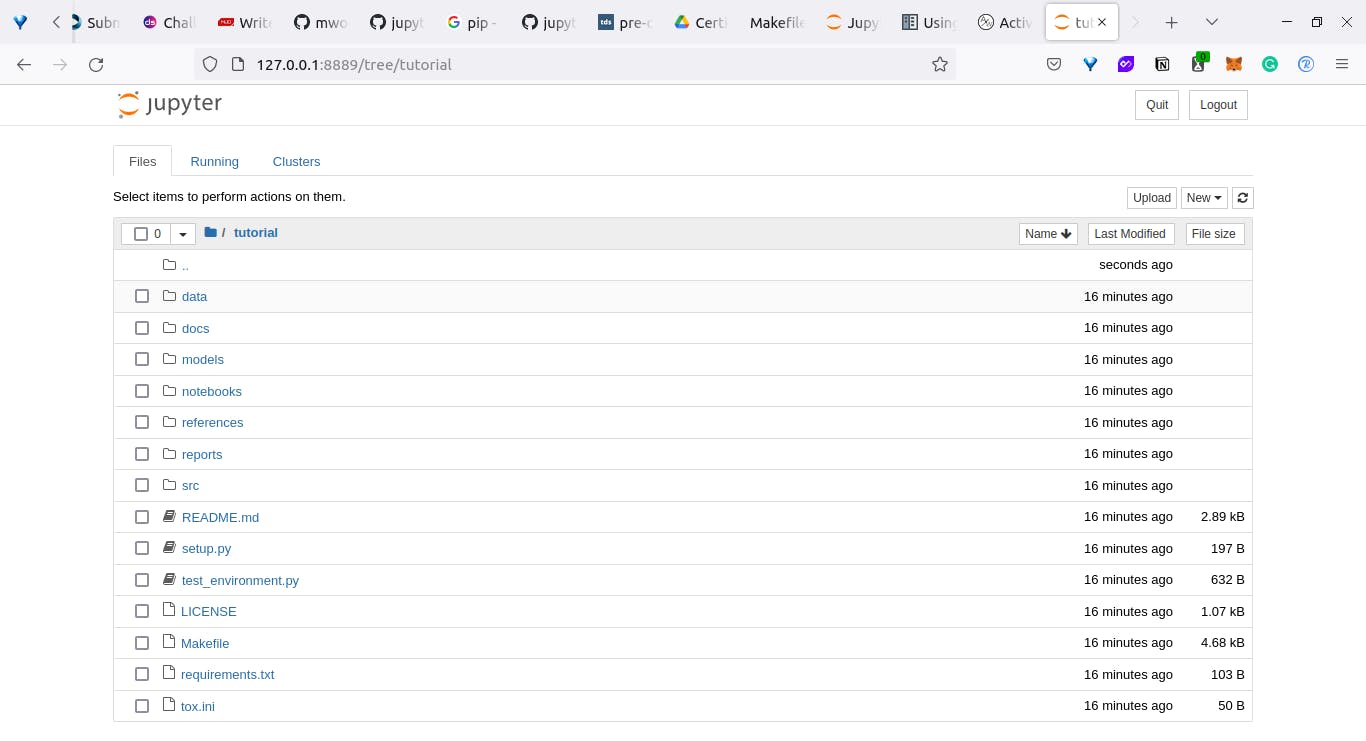
Next, we will create a new notebook [inside the notebooks folder] and call it Tryout.
After that, we will click on the Edit on the menu bar and select "Edit Metadata";
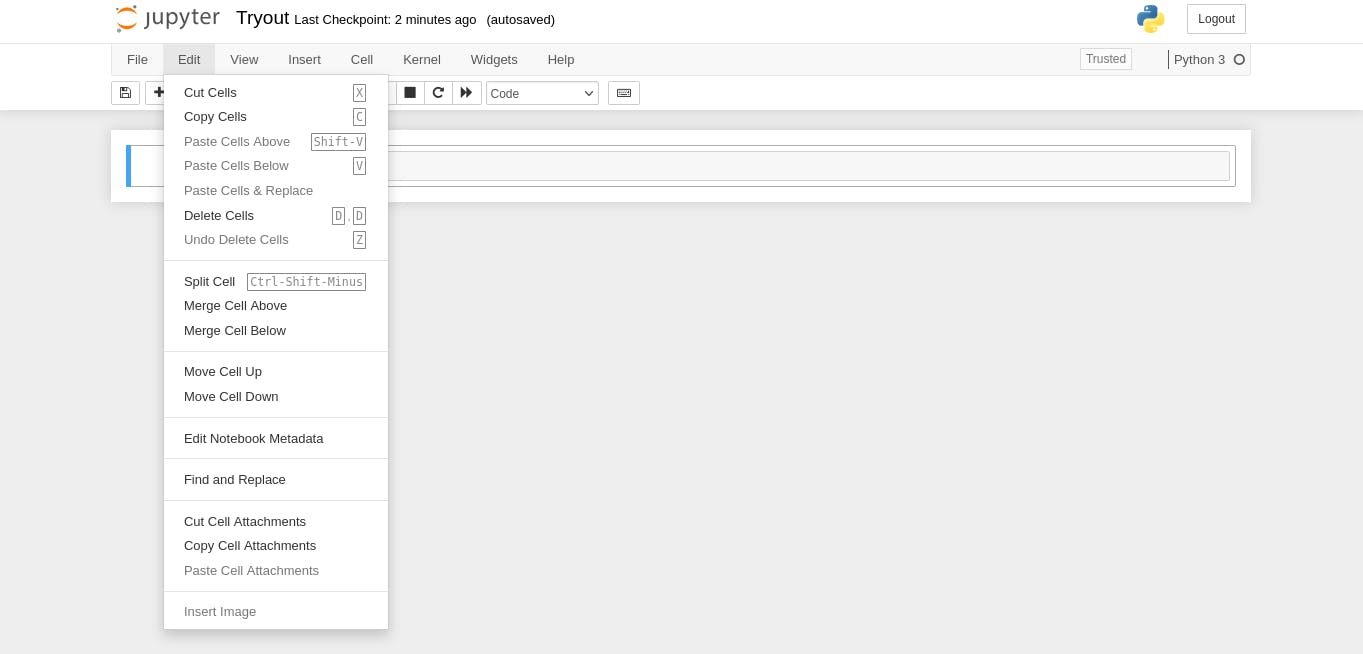
You should have the Edit Notebook Metadata open like mine.
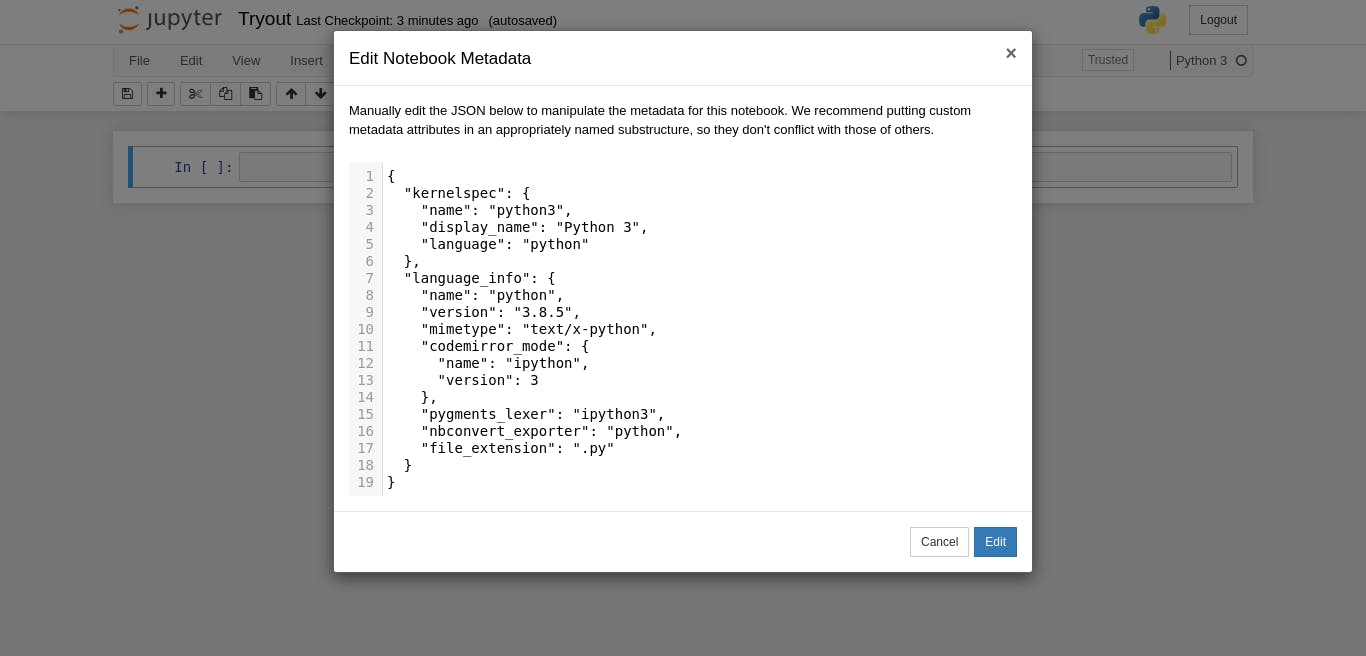 piture of open meta data page]
Then you should insert this into the box and select enter
  "jupytext": {
    "formats": "notebooks///ipynb,src/data///py"
  },
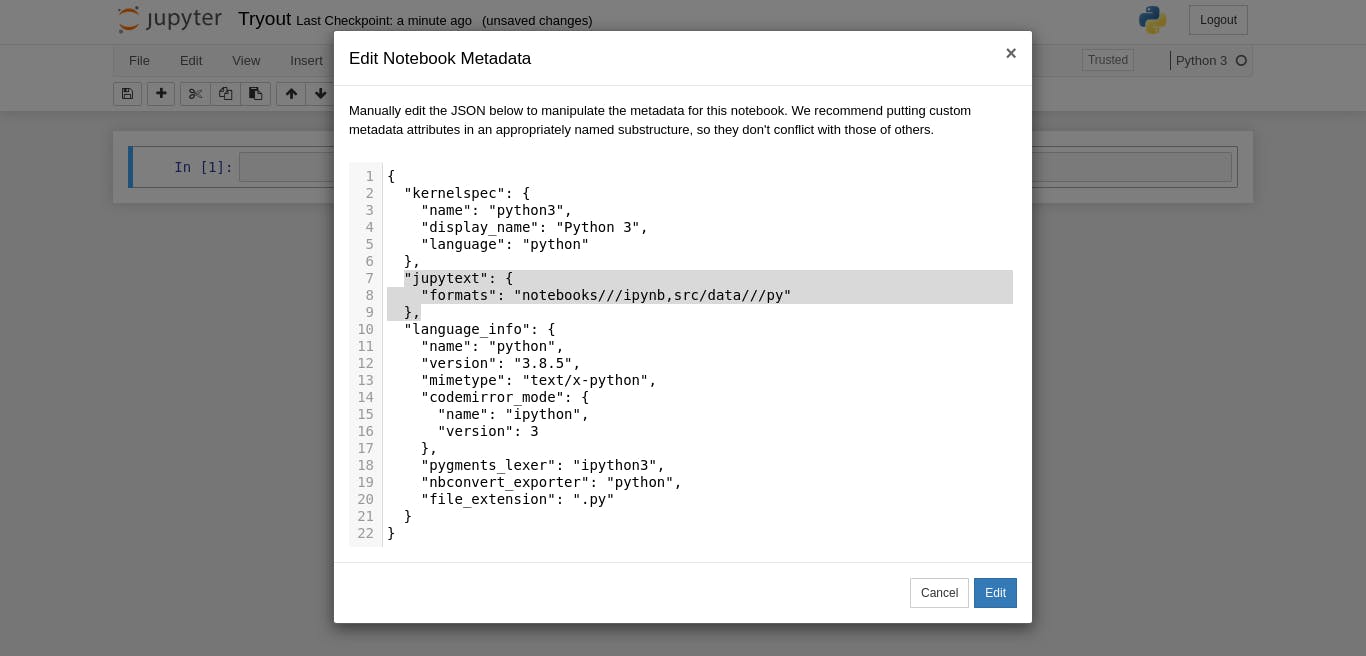
Here, we are telling jupytext (acting in the background), that select all notebooks in this folder (that ends with ipynb), convert them to "py" scripts in ".../src/data" (or any of the subfolders in our src folder).
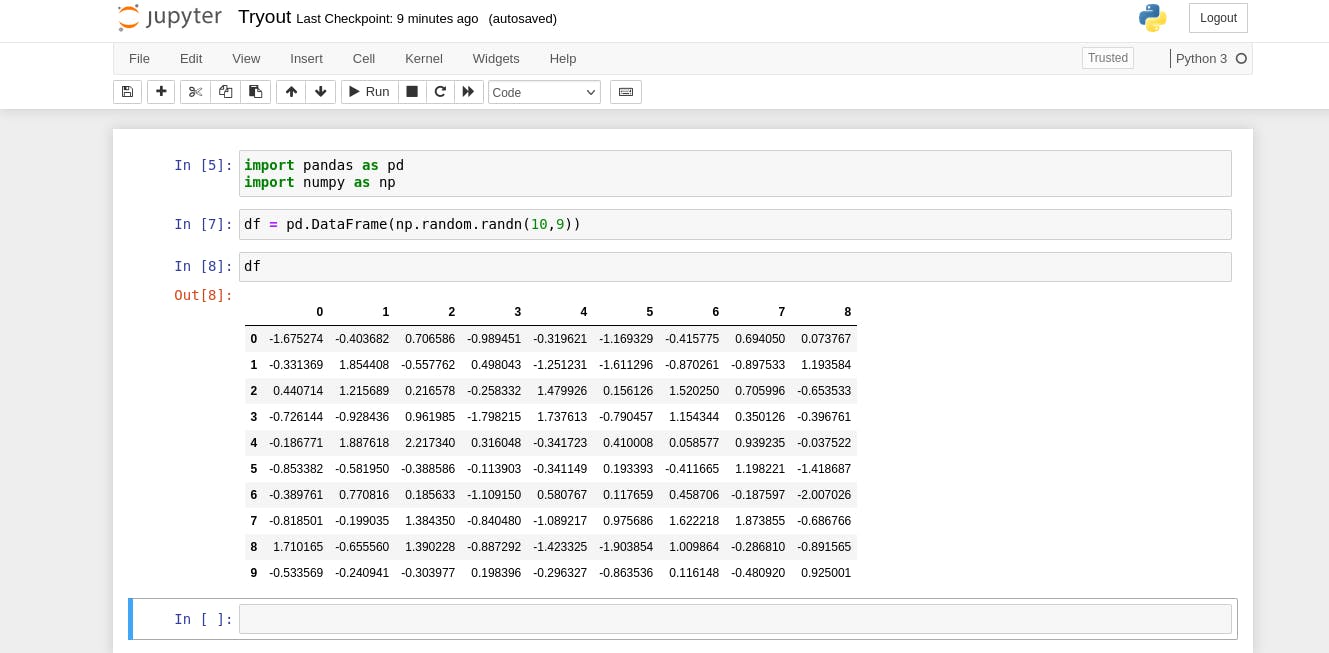
Now we can play around with our notebook and automatically whenever jupyter saves our notebook, a python script is generated with the exact name of our notebook and the same content.
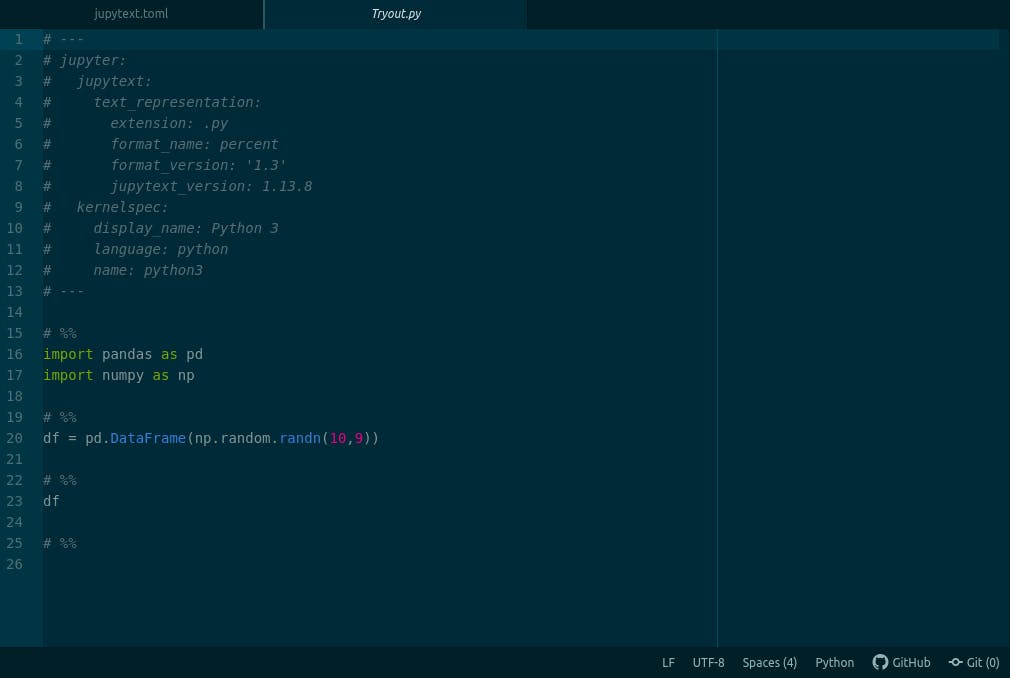
Using jupytext configuration file
Another way to set up jupytext with jupyter notebook is by creating a configuration file for it. jupytext accepts configuration files that end with .jupytext or .jupytext.toml or just jupytext.toml. After creating the file, we will then enter this into the file and save it.
formats = "notebooks///ipynb,src/data///py"

or
[formats]
"notebooks/" = "ipynb"
"src/data" = "py"

They both do the same thing of telling jupytext where to find our notebooks and where to save our scripts and every time jupyter saves our notebook, we automatically get our scripts also.
Using pre-commit hook
The last method I'll be explaining to set up jupytext is using it with pre-commit hook. For those not familiar with pre-commit, pre-commit is a tool that ensures that before you commit (add and save) anything to git, certain conditions e.g ensuring the code is formatted properly, that there is no trailing space after each line, that every imported module is used etc are fulfilled, if not, the commit should not be accepted. You can therefore use pre-commit to enforce consistency for your codes. You can also use jupytext alongside with the other hooks we want to set up for our codes.
To use a pre-commit hook for your notebooks, you need to download pre-commit, so we'll download pre-commit.
pip install pre-commit
or using;
conda install jupytext -c conda-forge
After that, we will need to create a .pre-commit-config.yaml file, this file will contain the configuration of all our pre-commit hooks. To add jupytext to .pre-commit-config.yaml file, add;
repos:
-   repo: https://github.com/mwouts/jupytext
    rev: v1.14.0  # CURRENT_TAG/COMMIT_HASH
    hooks:
    - id: jupytext
      args: [--sync]
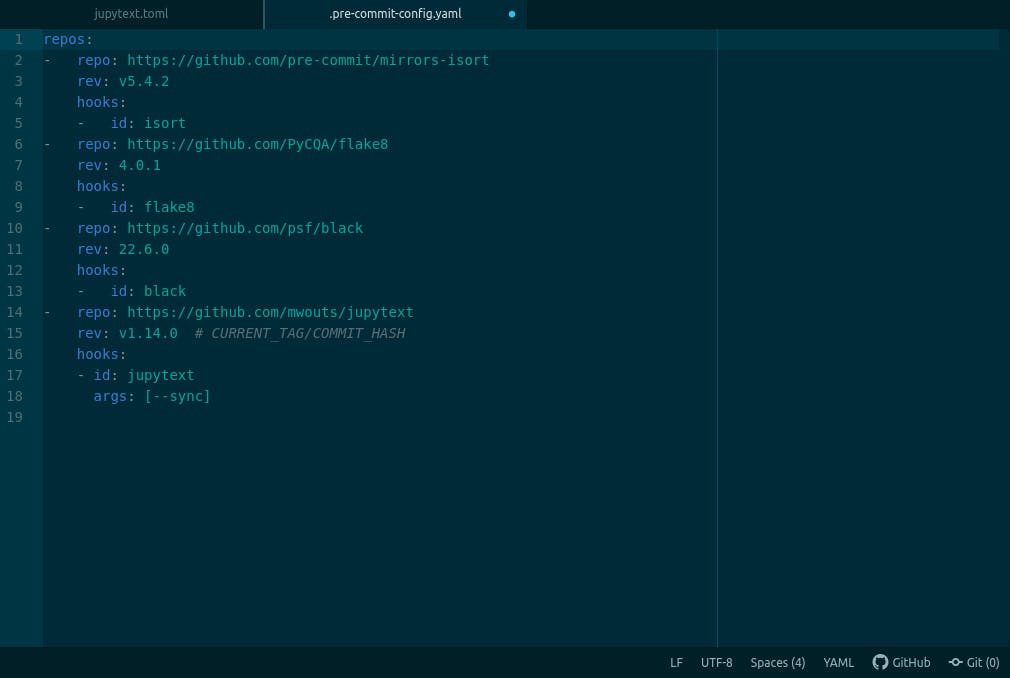
Here, we are telling pre-commit that we are about to add the jupytext hook, the repo represents the GitHub repository for the hook (jupytext), rev represents the tag (version of jupytext) we are using, and under the hook, we have the id of the hook (name) which is jupytext and an argument to synchronise our notebook with the scripts.

Jupytext when combined with some other pre-commit hooks, mine looks like this, (yours should too).
then on the terminal, run;
pre-commit install
This downloads and set up pre-commit. After this every time, we add our notebooks to be committed to git, a synchronised script is generated for us. You can learn more about pre-commit or watch out for my next article on important pre-commit hooks you should be using as a data scientist and how to set it up
And that is a simple setup using jupytext, of how to automatically and in real-time, convert your notebooks to scripts. If you enjoy or found this article helpful, please like, subscribe, drop feedback and share with someone else you think might need it. Till next time, see you.